

Taking the Project Management Professional (PMP)® exam is a major milestone, but test-day anxiety isn’t always about the questions themselves. For many candidates, unfamiliarity with the Pearson VUE testing environment, strict section-locking rules, and built-in tools can cost precious minutes.
To help you feel completely confident before you take the test, here is an end-to-end walkthrough of every phase and step you will encounter during the PMP exam on Pearson VUE.
Phase 1: Onboarding & System Setup
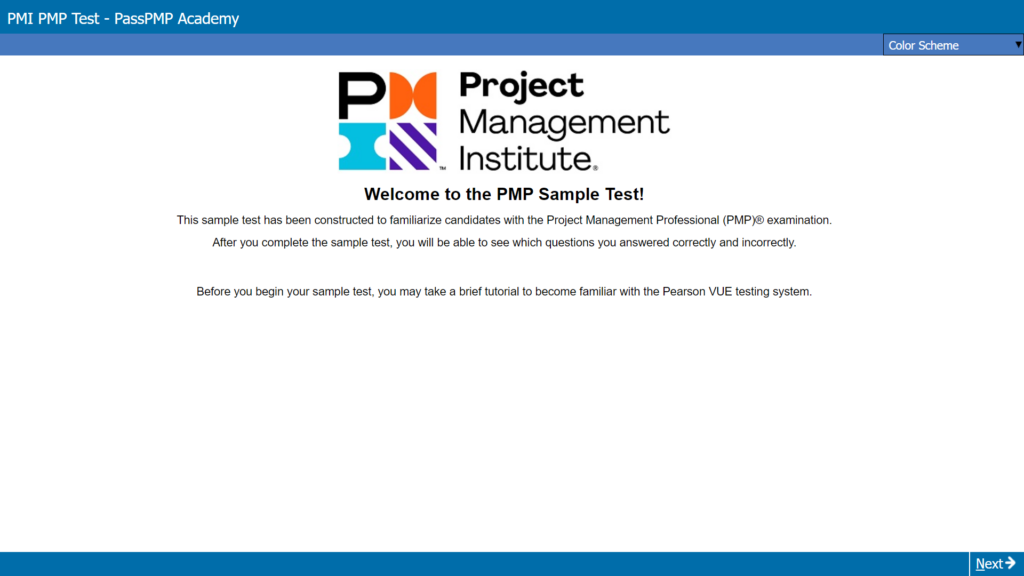
Step 1: Welcome & Overview Screen
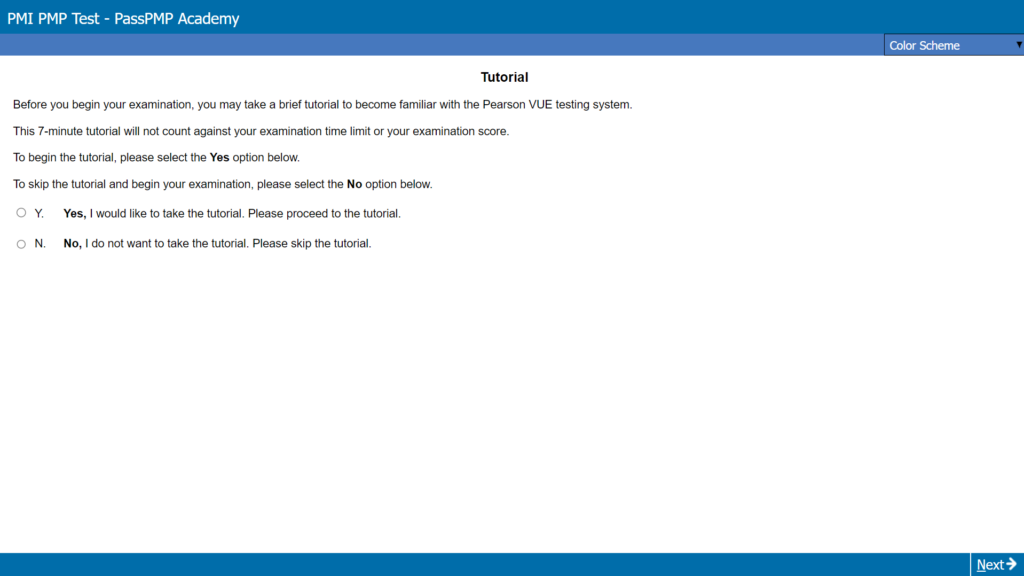
Step 2: System Tutorial (Optional)
Phase 2: Core Exam Engine & Built-In Tools
Step 3: Question Interface & Toolbar
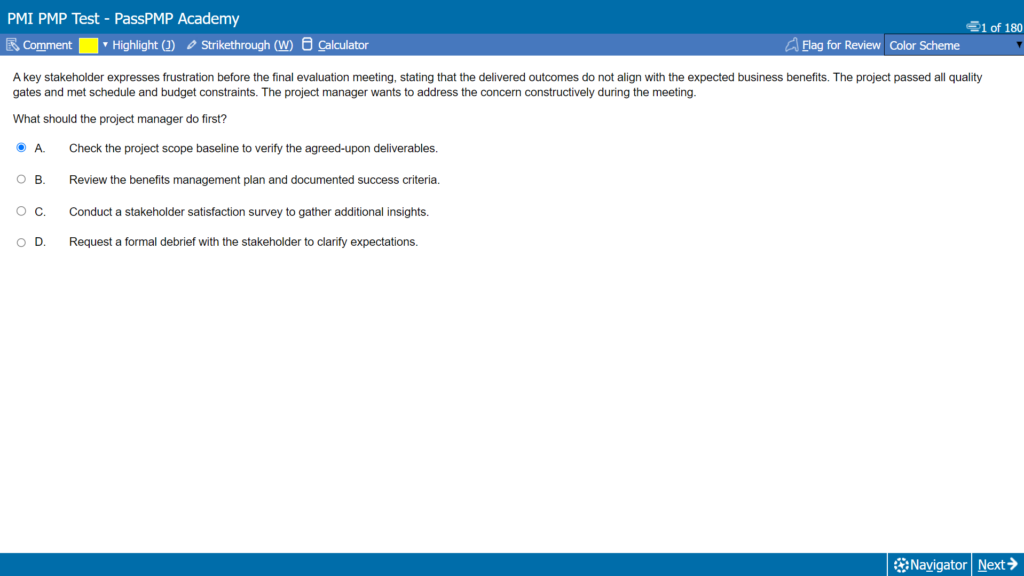
The main exam layout features a clean interface with an action toolbar at the top. Master these essential tools to move through questions faster:
Strikethrough (W): Cross out obviously incorrect choices to narrow down your options visually.
Highlight (J): Select key phrases in long situational prompts to keep critical details front and center.
On-Screen Calculator: A standard pop-up calculator for basic formula calculations.
Flag for Review: Mark challenging questions to return to before finalizing the current section.
Color Scheme: Adjust background contrast options if you experience visual fatigue.
Step 4: The Pop-Up Navigator
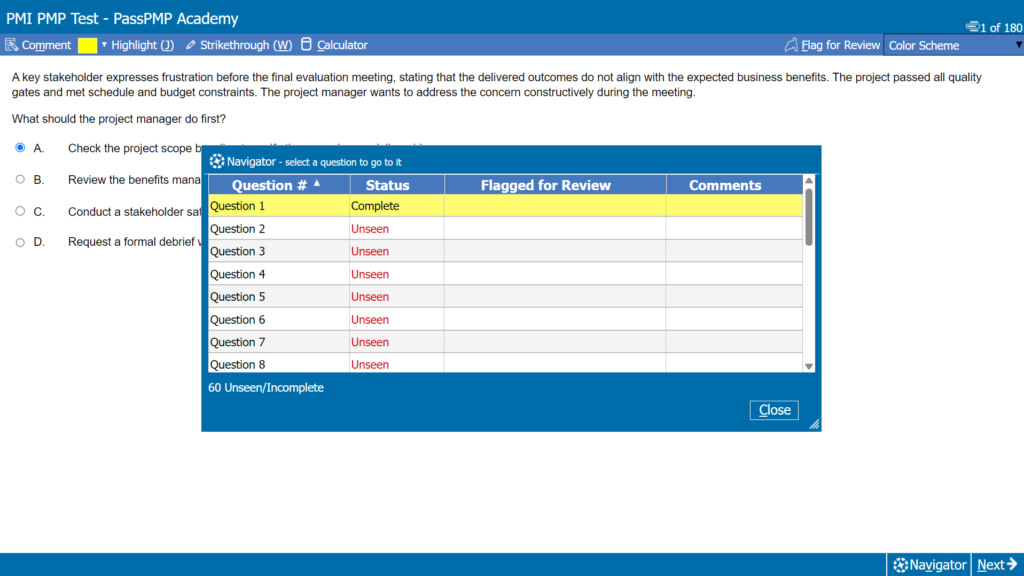
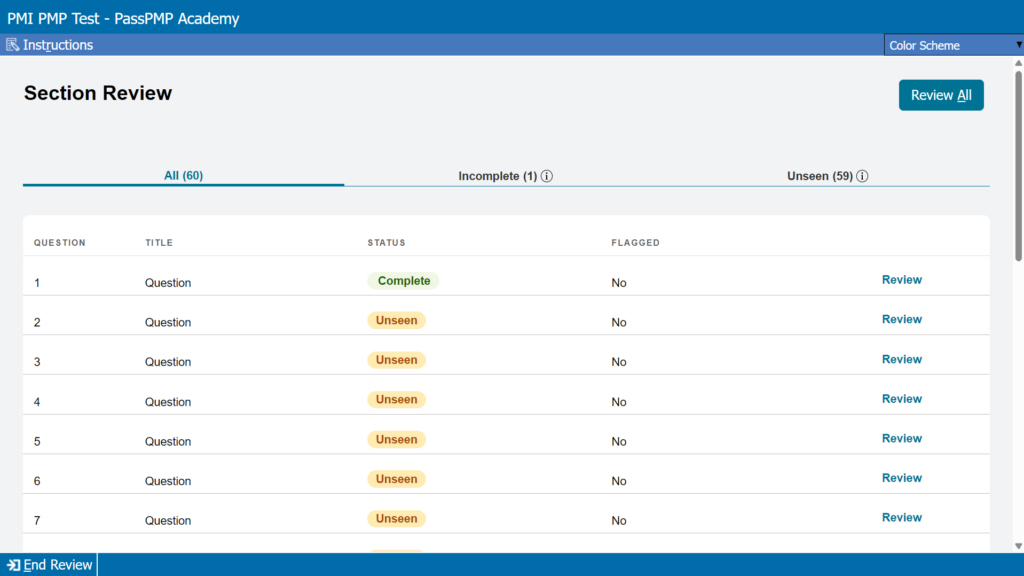
At any point during a active section, clicking the Navigator button opens a pop-up grid displaying all 60 questions in your current block.
The Navigator provides a real-time status update for each item:
Complete: Questions you have answered.
Incomplete: Questions left blank.
Unseen: Questions you haven’t reached yet.
Flagged: Questions marked for later review.
You can click any question number inside the Navigator to jump directly to it.
Phase 3: Section Breaks & Section Locking
Step 5: Section Review Screen
Step 6: The Optional 10-Minute Break Prompt
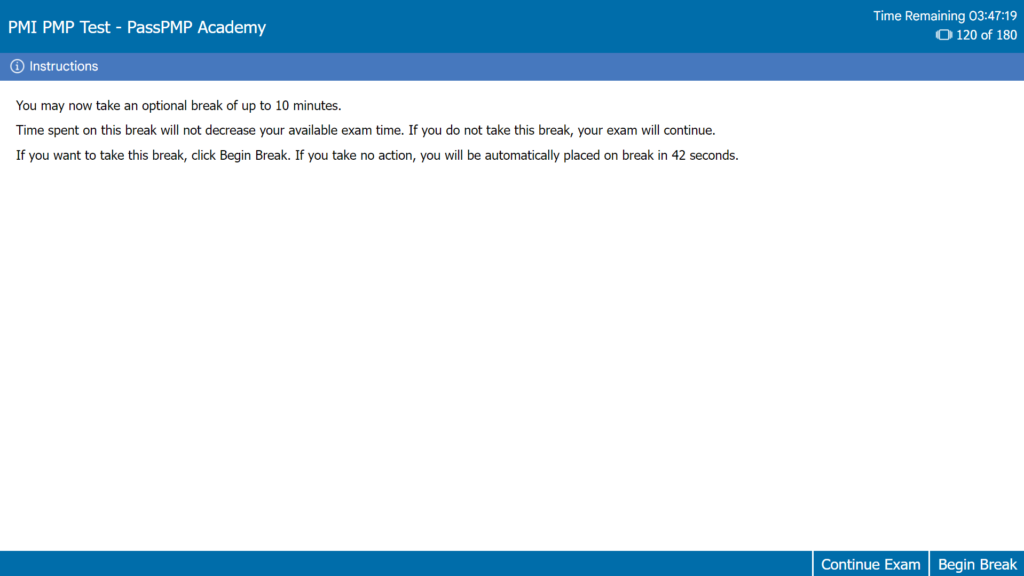
Once you finish reviewing a section and click to move forward, the system prompts you for an optional 10-minute break.
Break Timing: The 10-minute break does not deduct time from your remaining exam clock.
Auto-Start Rule: If you take no action within 60 seconds, the system will place you on break automatically.
Step 7: Active Break Countdown
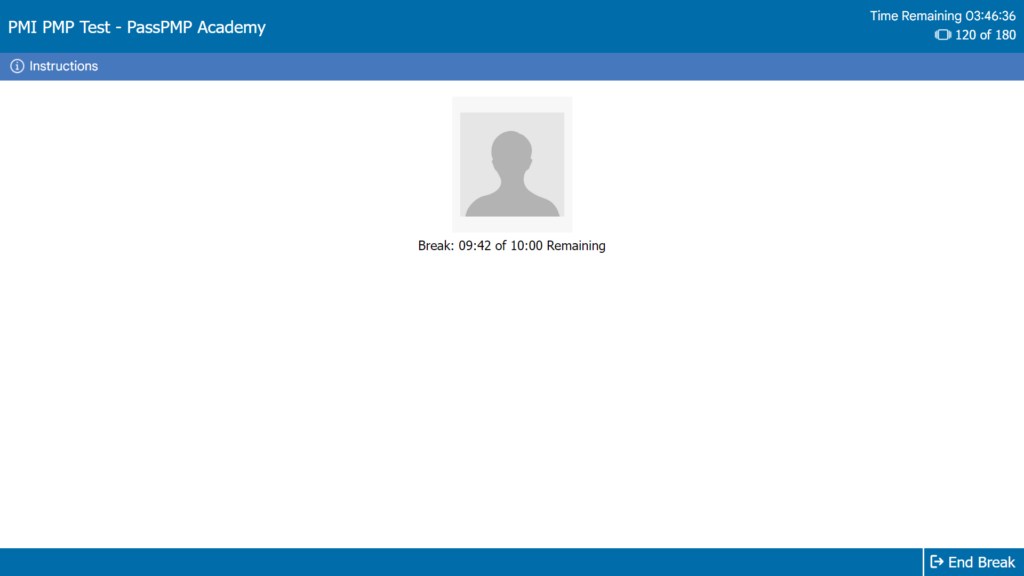
Critical Rule: Once you submit a 60-question section and enter a break, you cannot return to those questions. Upon returning, your previous section is permanently locked, and Section 2 begins.
Phase 4: Final Exam Submission
Step 8: Final Review & Submission
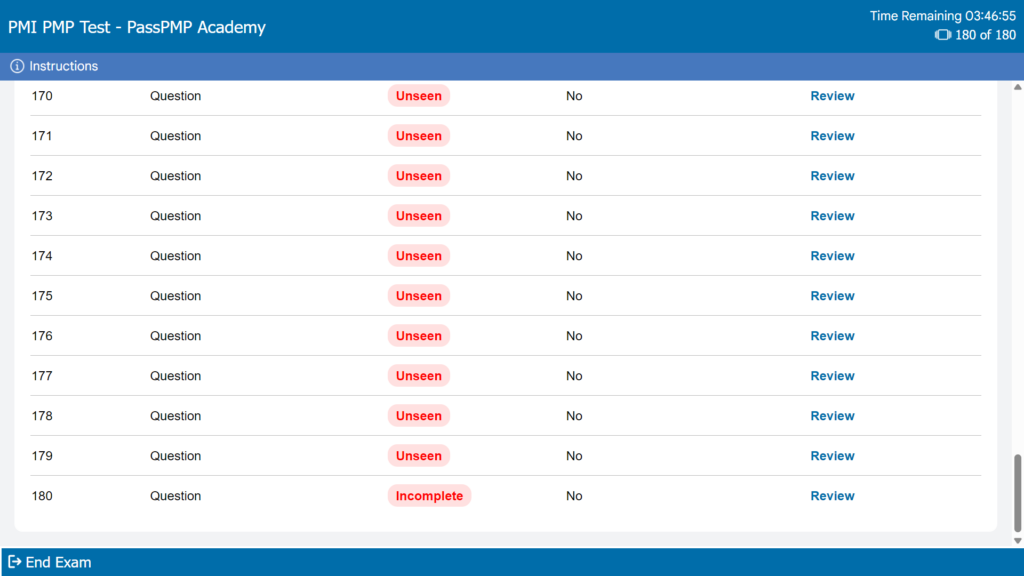
When you finish the third and final 60-question section (Question 180), you reach the ultimate review dashboard. Once you verify that all questions are answered, clicking End Exam officially terminates the testing session and submits your responses for scoring.
Rehearse on the Real Engine Before Test Day
Don’t spend valuable test minutes figuring out where buttons are located or how breaks trigger. PassPMP Academy replicates the full exam testing environment, complete with active strike-throughs, highlights, section-locking mechanics, and pop-up navigators so you can build speed and confidence well before exam day.
No account required. One click to start.